Tented Vias in Eagle
How to Cover Vias With Solder Mask in Eagle
 Vias are plated holes that connect copper on different layers of a PCB. A via can either be tented with soldermask or uncovered like a traditional through hole pad. Uncovered vias may be desirable for early prototypes where they provide convenient places to probe a circuit or a convenient place to solder a jumper. Tented or covered vias are desirable because they prevent shorts if wire or other conductive material is in contact with the PCB and the soldermask provides an extra layer of protection from mechanical damage to the copper layer. You may also just prefer the look of a covered via.
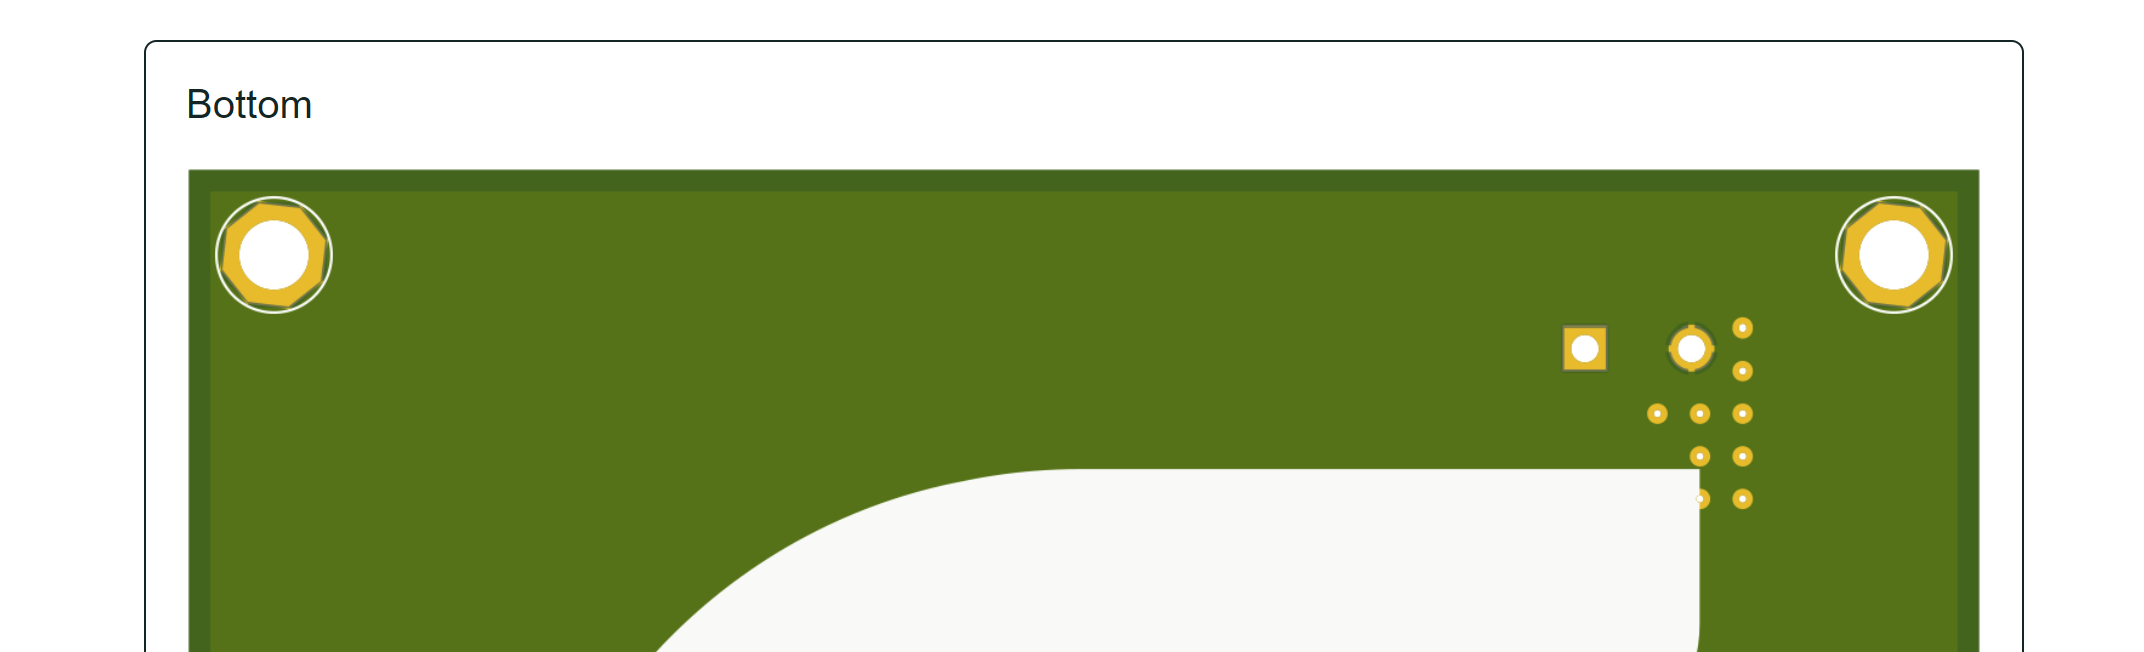
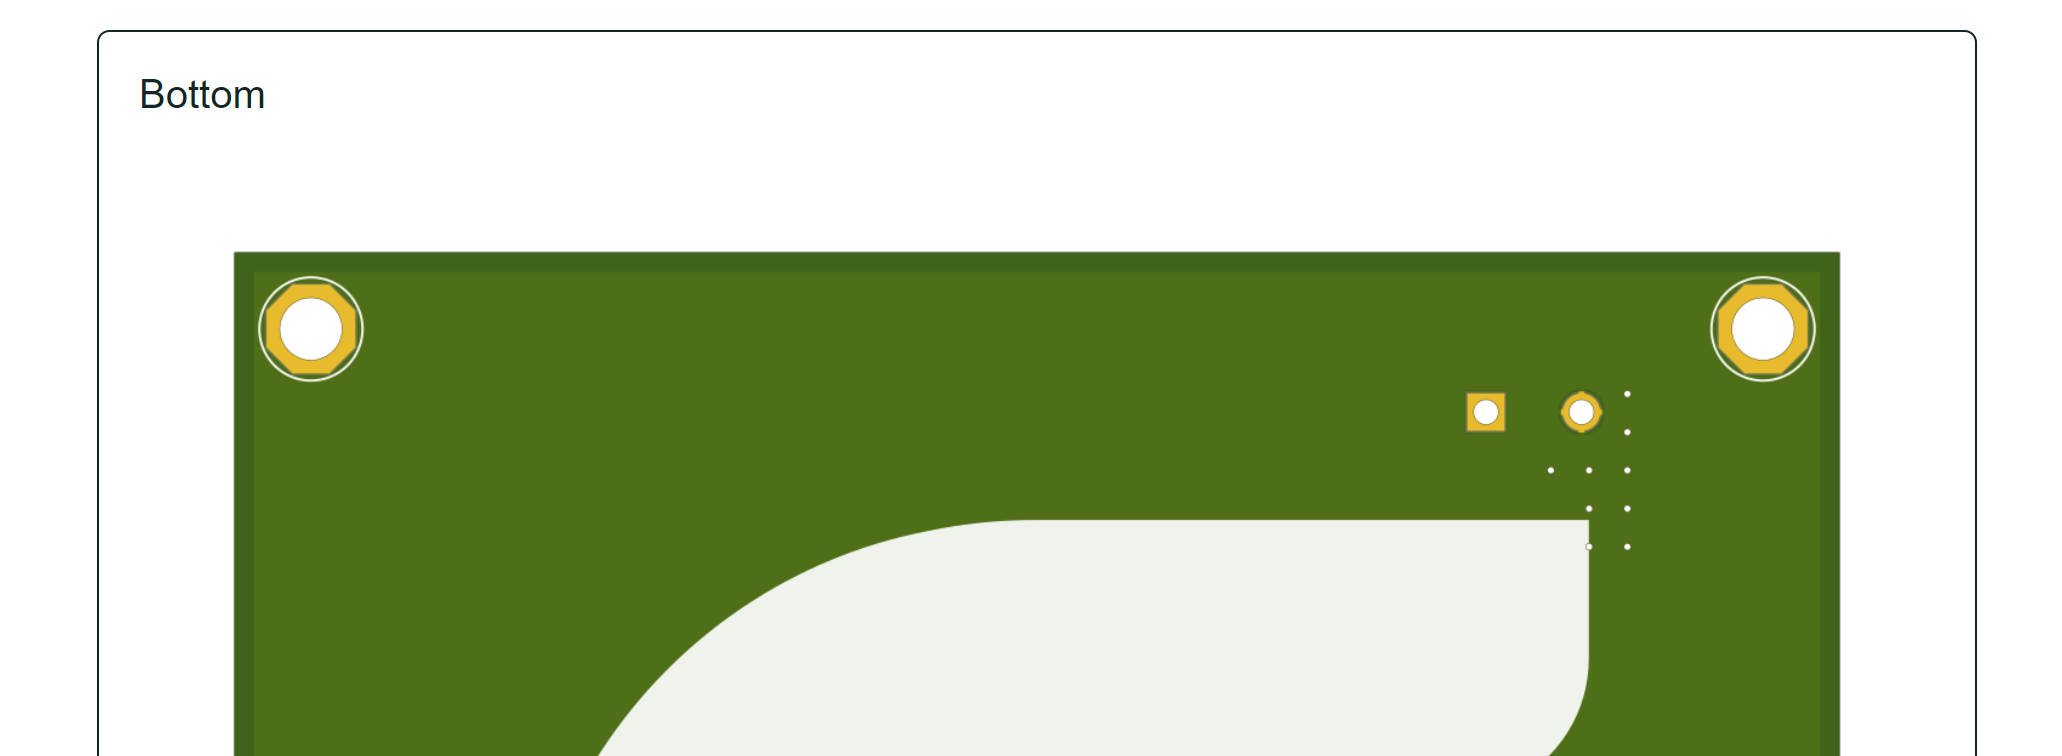
We can easily see if the vias are covered on the FlashPCB’s “Board Review” page in the previews. These previews show not only what the PCB will look like but the individual layers. For instance here we can see the uncovered vias in the Bottom preview.
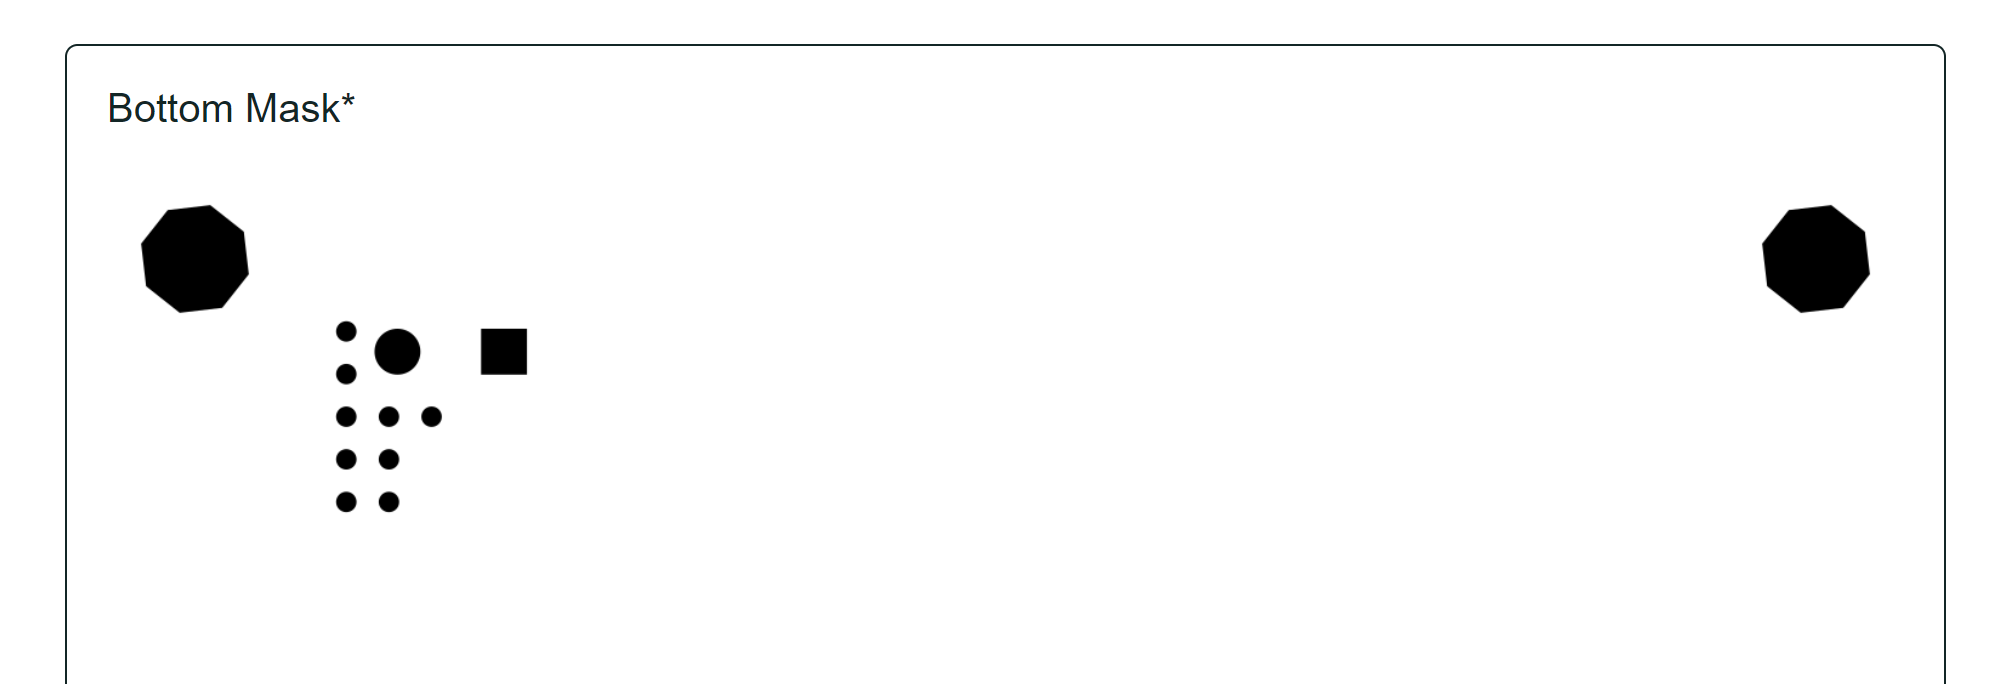
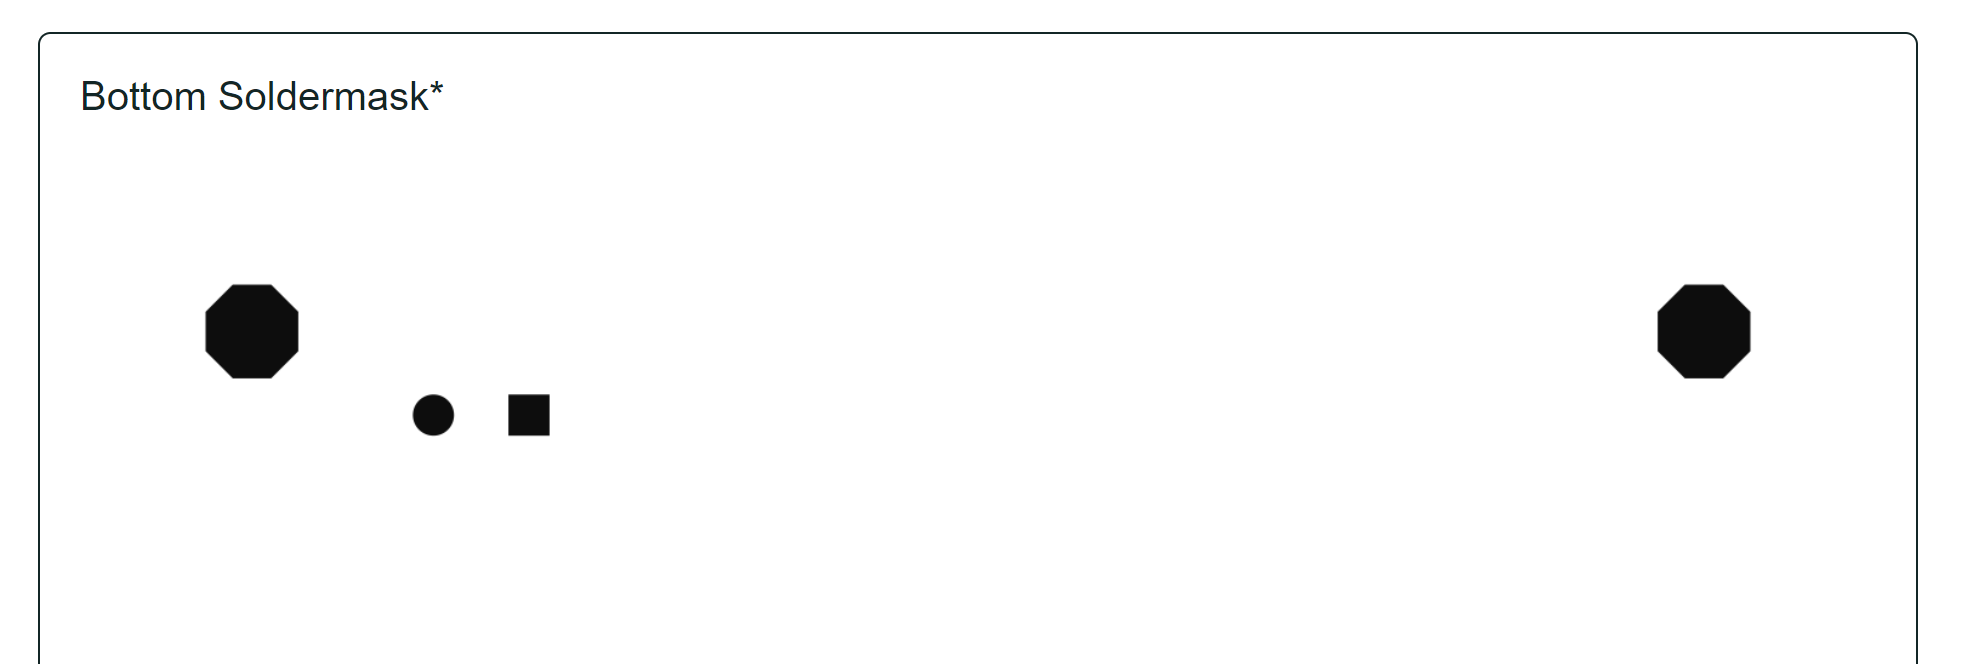
But we can also see them in the mask preview as well.
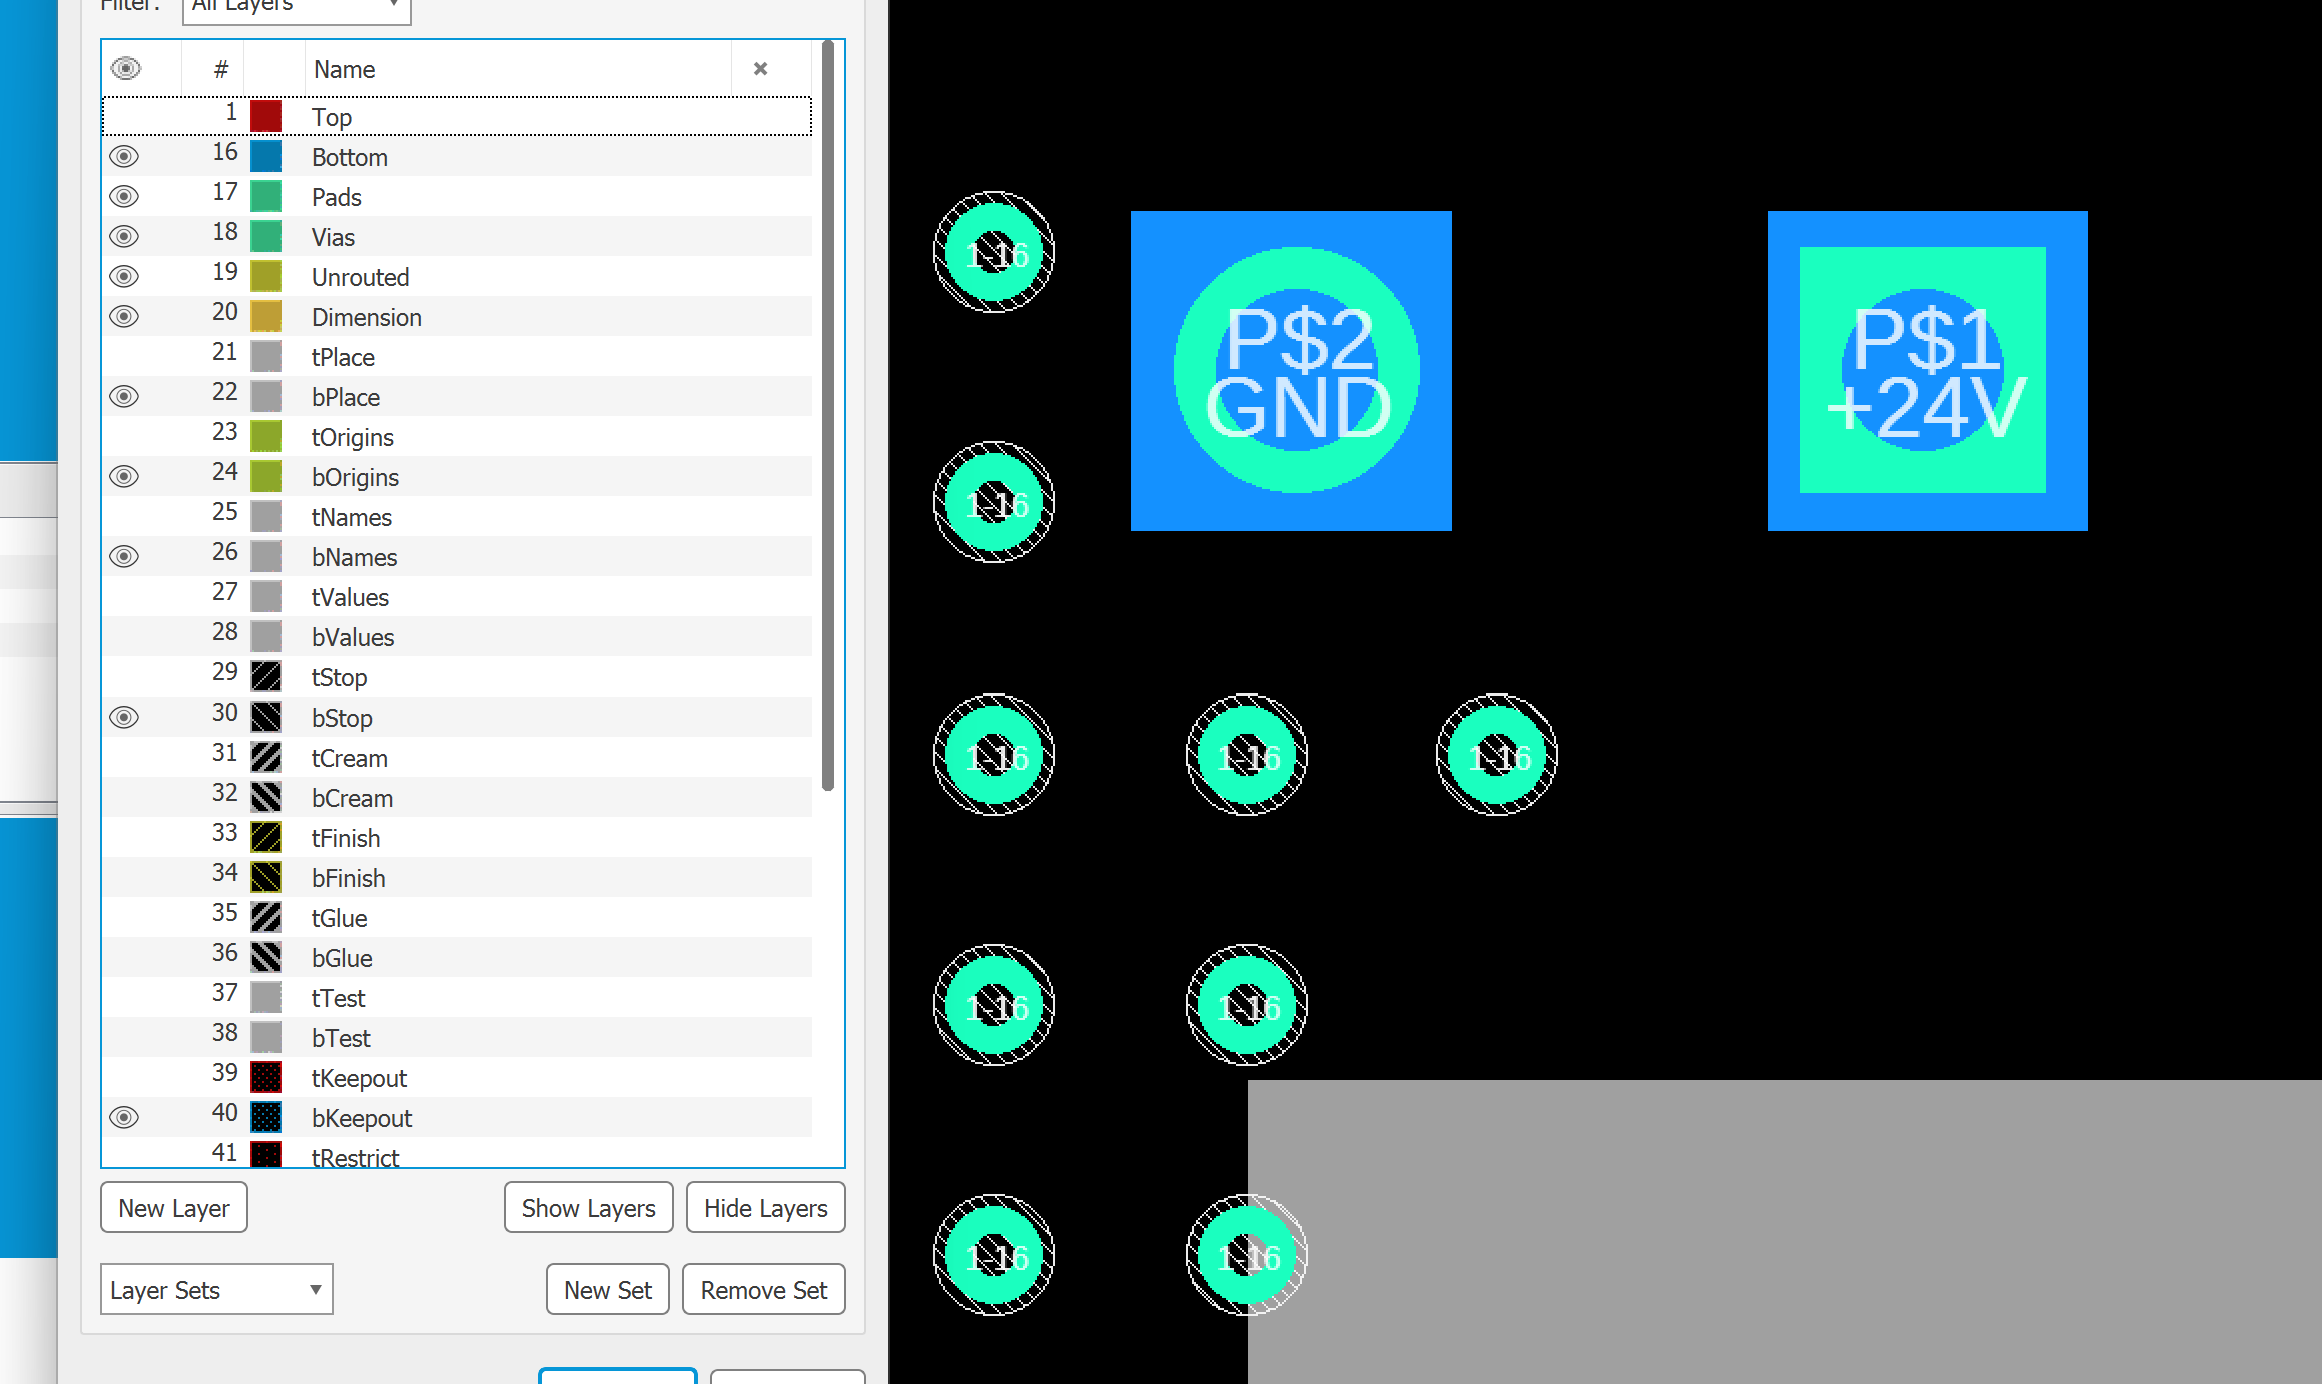
And we can see the holes in the soldermask in Eagle in the tStop and bStop layers.
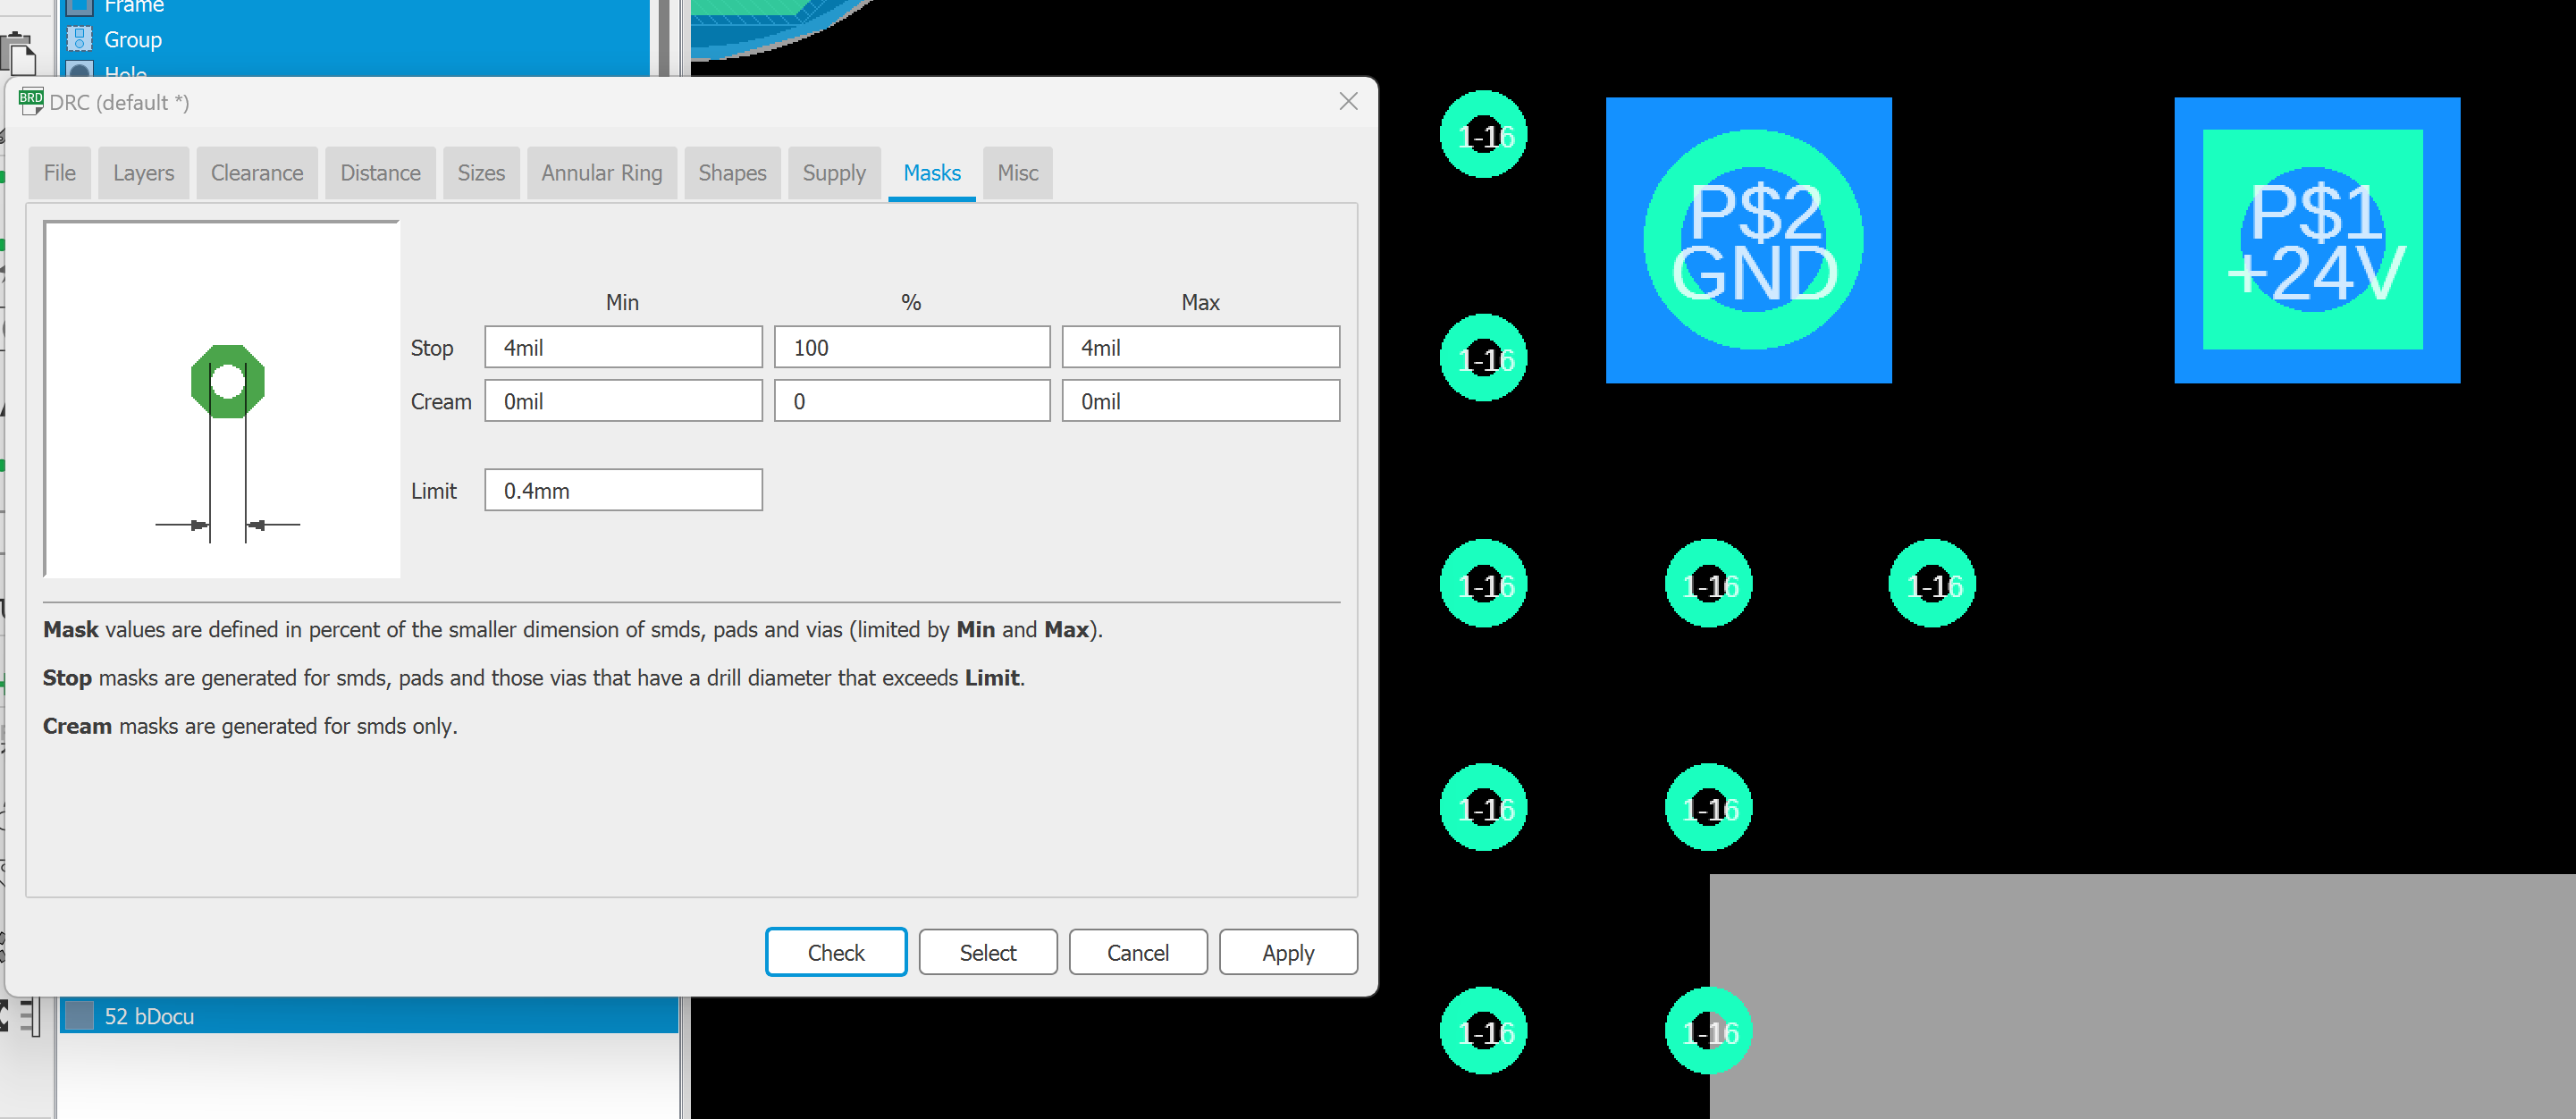
If a via is covered by Soldermask is determined by “Limit” setting in Eagle’s DRC under the Masks tab. If a via drill is larger than the “Limit” setting then Eagle will automatically uncover the via by adding a hole in the Soldermask. By default Eagle has this set to “0mil” so all vias are uncovered. We can enter these settings in either “mil”, “mm”, “inch” or “mic”. Here we change the setting to 0.4mm and see that our vias are covered.
After we upload the updated board we see the covered vias in the Bottom preview.
And the holes are removed from the Soldermask preview as well.
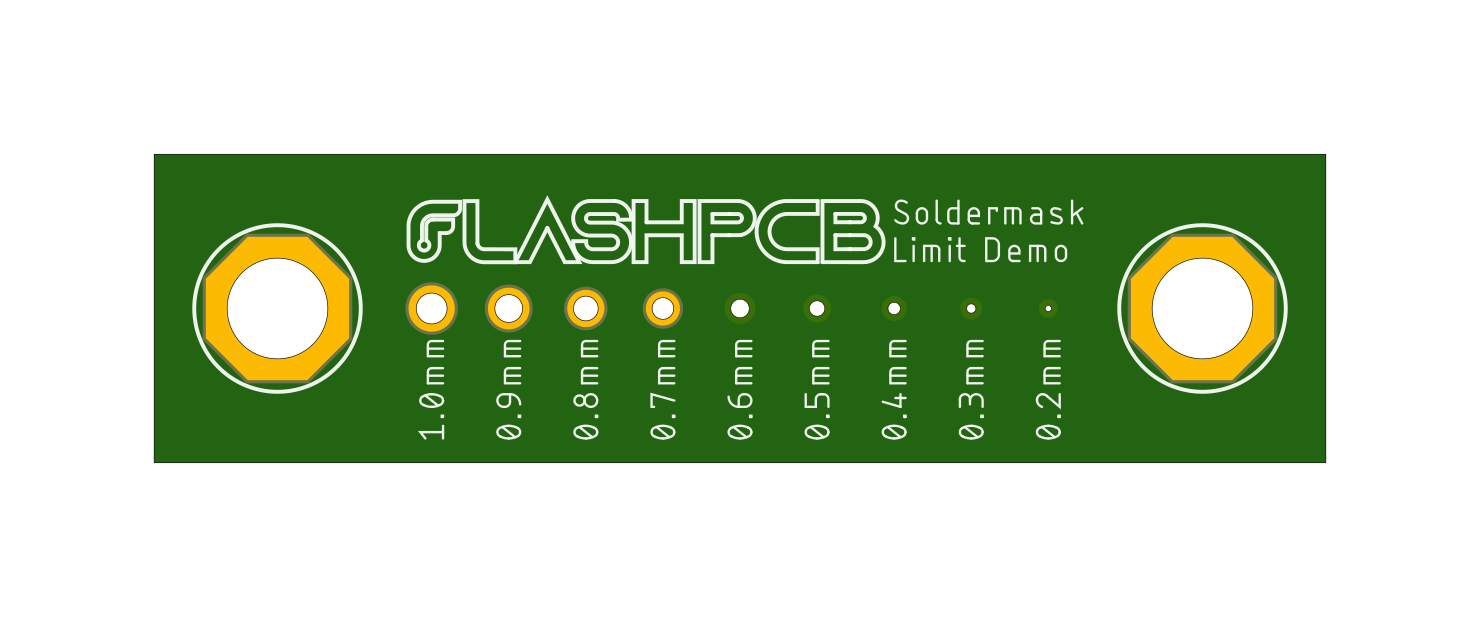
Demo Board
To experiment with this setting you can use the FlashPCB Soldermask Limit Demo Board that has multiple via sizes.